During week 1 of our virtual environments assignment we divided ourselves into groups of four. Once we were in our groups we chose a team name. The name that our group decided on was 'Infamous' as Roosevelt' described the day of December 7th 1941 as 'The day that lives infamy'.
Once we had a name for ourselves we decided to choose which part of the animation each member would like to do. Doing this we looked at each others strengths, expertise and skills and the interests of each member to come to a decision.
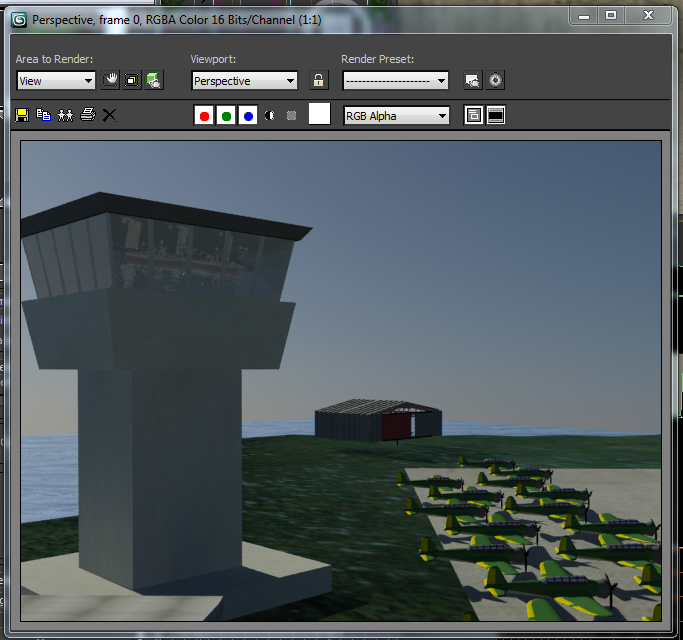
My part of the animation was too model Pearl Harbour itself and the surrounding environment. I made the decision to do this because I had previous experience in modelling environments and terrains.
Before starting my modelling there were a few aspects of this that i had to look at. I looked at various contour maps and height maps to get the layout of the harbor. Also when looking at maps I found road and building layout maps which actually showed where the buildings stood in Pearl Harbor 1941. I found this very useful to be as accurate as i could when modelling my environment.


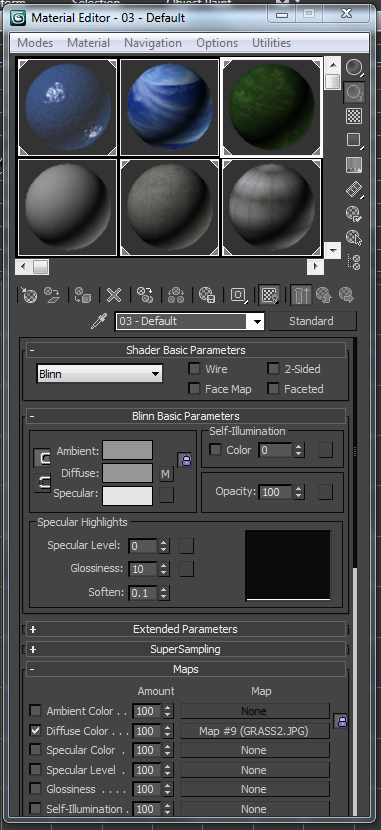


 Once I did this I add my bitmap image to the material. For this I click on the bump tab and add my bitmap. I loaded a preset material from 3ds max for my water and then tweaked the settings. Once I have loaded the preset material I go to the tiling setting and change it to 2.0. Once I did this I go to the additional bump tab and add another normal bump, you can see this in the image to the right. I repeat this procedure two more times and every time doubling the tiling, so from 2.0 to 4.0 until it reaches 8.0.

 Once I had my height map I could start modelling the harbor. To do this I created a plane which I added a displace modifier too. This is where the height map comes into play. Once I have added the displace modifier too the plane I add my height map to the displace modifier.
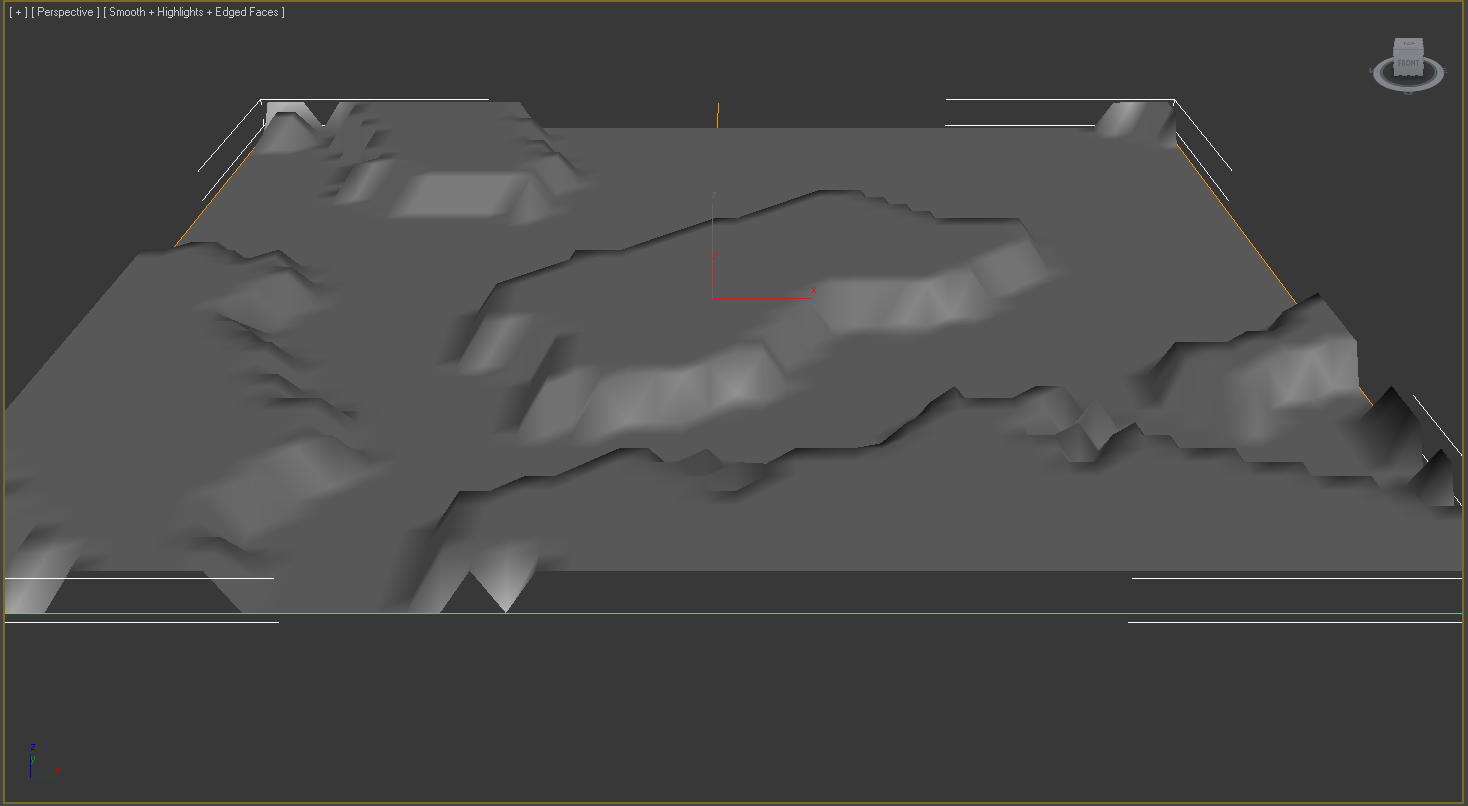 Once I have added the height map to the image section I have to increase the strength to bring up the layout of the harbor. Once I've incresed the strength it brings up the layout of the harbor as you can see from image below.

.gif)