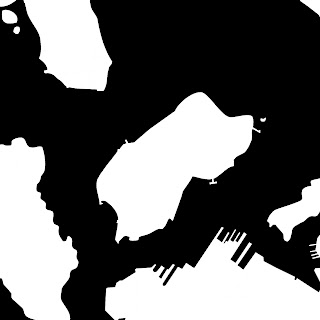
Here is a height map I had created to import into 3ds Max.
The height map to the right created a basic layout of the harbor. I had to simplify the shape of the islands by taking out the surrounding docks and making a really simple outline of the islands.
I had to simplify the outline because when using this height map in 3Ds max it was obscuring the outline of the islands and not giving me an accurate shape. The image to the left is the simplified height map which I then imported into 3D studio max.

No comments:
Post a Comment